Pretty Or Not Documentation
Introduction
This project is focused on training neural network models to predict if a person will find an image of a person attractive or not. This system can be added as an addon to existing dating apps.
What i used to build the system
- Anaconda with python 3.5.3
- External python libraries
- face_recognition simple face encoder built on top of dlib library.
- Keras library to build and train neural network models.
- Numpy to store face encodings in file
How The System Works
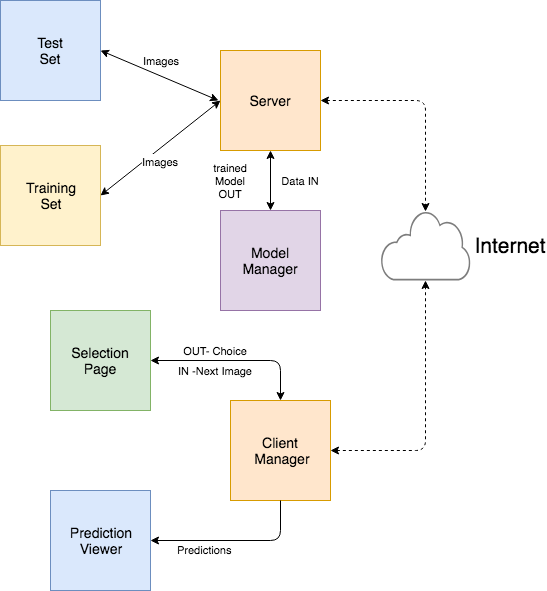
In the above design, the client manager is used to resemble any dating site. The selection page is the page where the user can like or dislike a person’s pictures fetch from training set from the server and the Prediction viewer is a page where the system recommends the images the users might find attractive and unattractive based on his/her selection in the selection page.
The user’s choice of 100 pics are sent to a server. Together with the images and the user’s choice, A neural network model is trained in the model manager. After the training the teset set that contains 187 pics is predicted using the model and the results are sent to the client to be viewed on the Predicition Viewer.
How Data Is Gathered
I’ve followed two steps to gather and organize the images used to choose and predict.
Step 1. Downloading Images
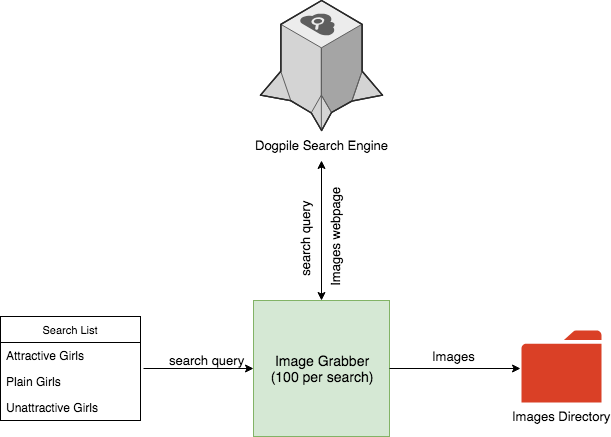
To download images, first we have a search list. It’s the query we type in any search engine to find information. In this case we have attractive girls,plain girls and unattractive girls. Using these keywords, the image grabber will search for images in dogpile search engine and scrape the urls and download the images. The images are then kept in the Images directory for further processing.
Step 2. Encode and Organize Images
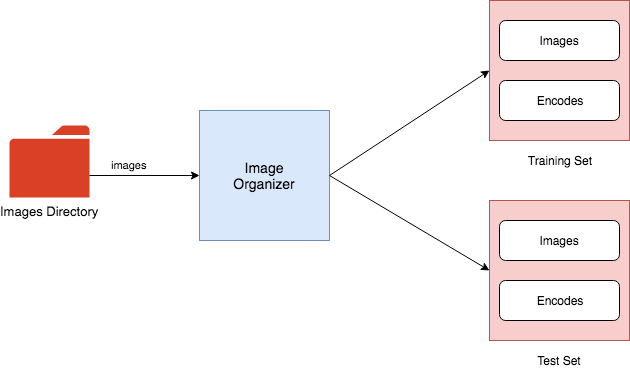
In this step, the downloaded images are encoded and organized in the Image Organizer module and training and test set are generated.
The Images in the Images directory are then randomly picked and put in a training set and test set directory. For the training set, 100 images are picked and 187 images are picked for the test set. The training set data size is 100 by assuming the number pictures an average dating site user rates.
The Image organizer takes an image from training set and test set directory, detects a face and encodes it to 128 length array. If there are 300 images, then the encoding matrix will have 300 x 128 shape. Then each image is renamed to its respective encoding matrix index to make it easy to map the encoding to its respective image as shown in the image below.
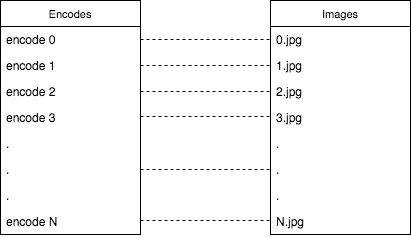
The encodings are used to train the model and their respective image is displayed on the browser.
The Model
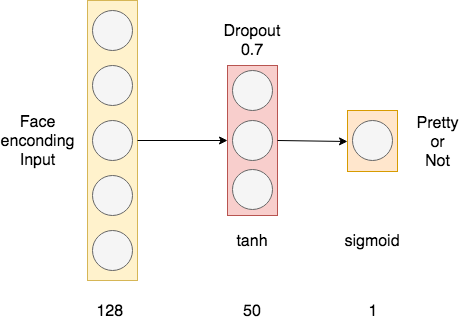
Since we are using a small training set, the model has to be small. As shown in the image above, the neural network has 128 input size for the encoded images, 50 units is used in the hidden layer with tanh activation with 0.7 dropout. The output layer has 1 unit with sigmoid activation where 1 is pretty and 0 is not pretty. For each user a new instance of this model is built and trained.
How To Use The Application
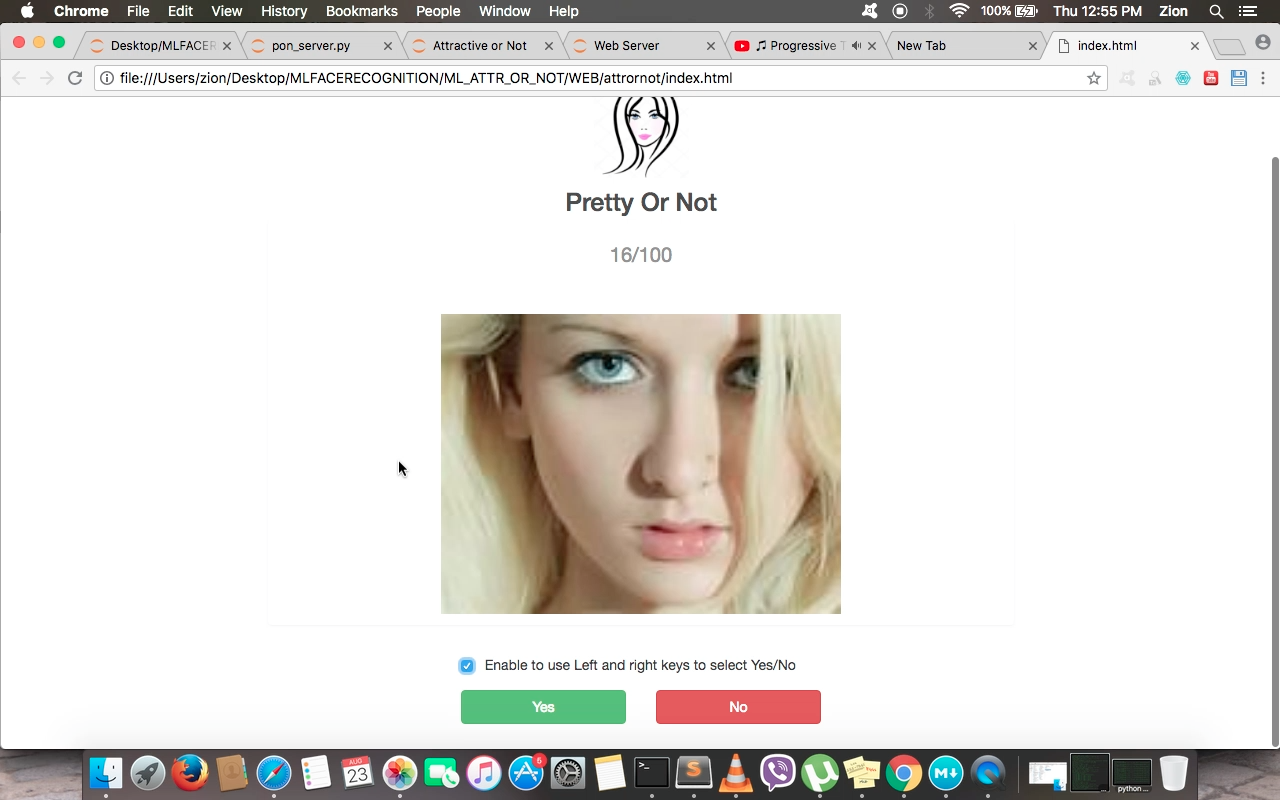
To use the application, we launch a web application to rate pictures. To rate the the picture, the user can either use yes and no button or check the Enable to use Left and right keys to select Yes/No to use the arrow keys for speed.
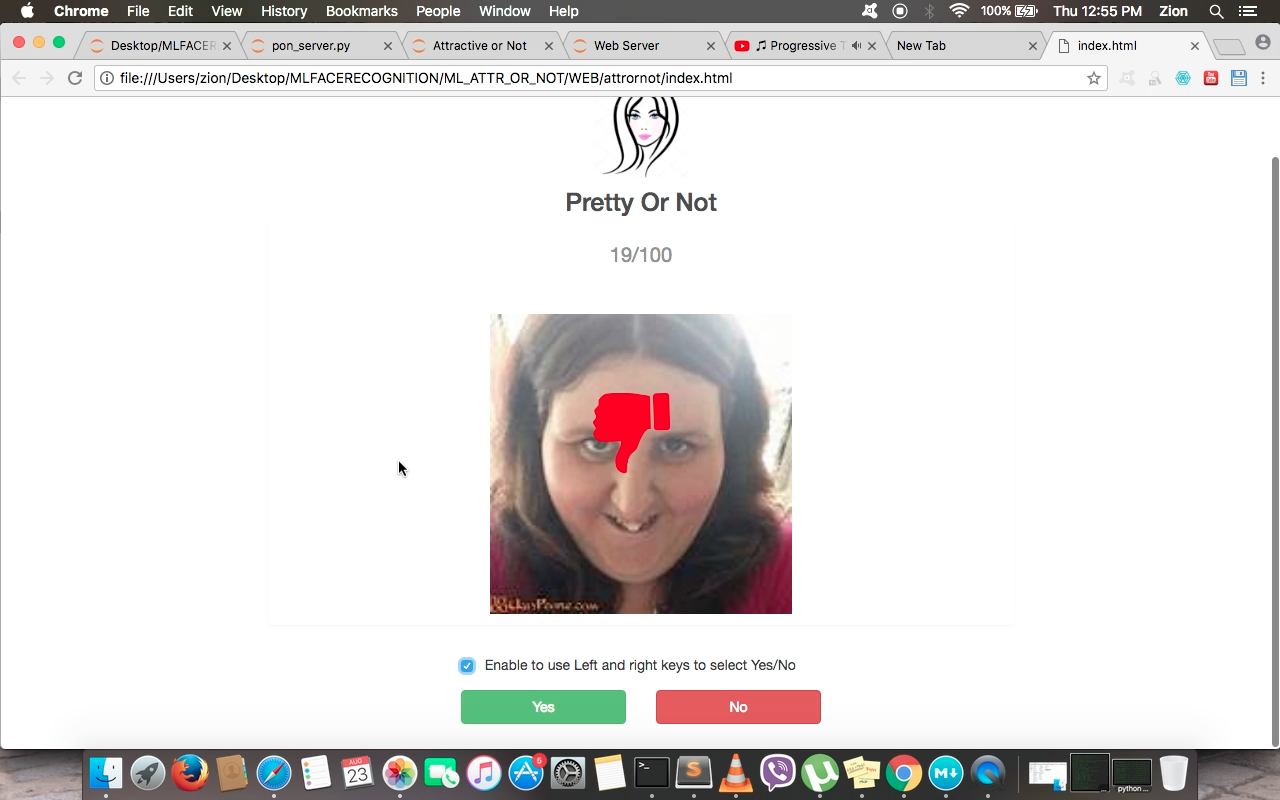
Whenever the user rates a picture the rating is diplayed on the image.
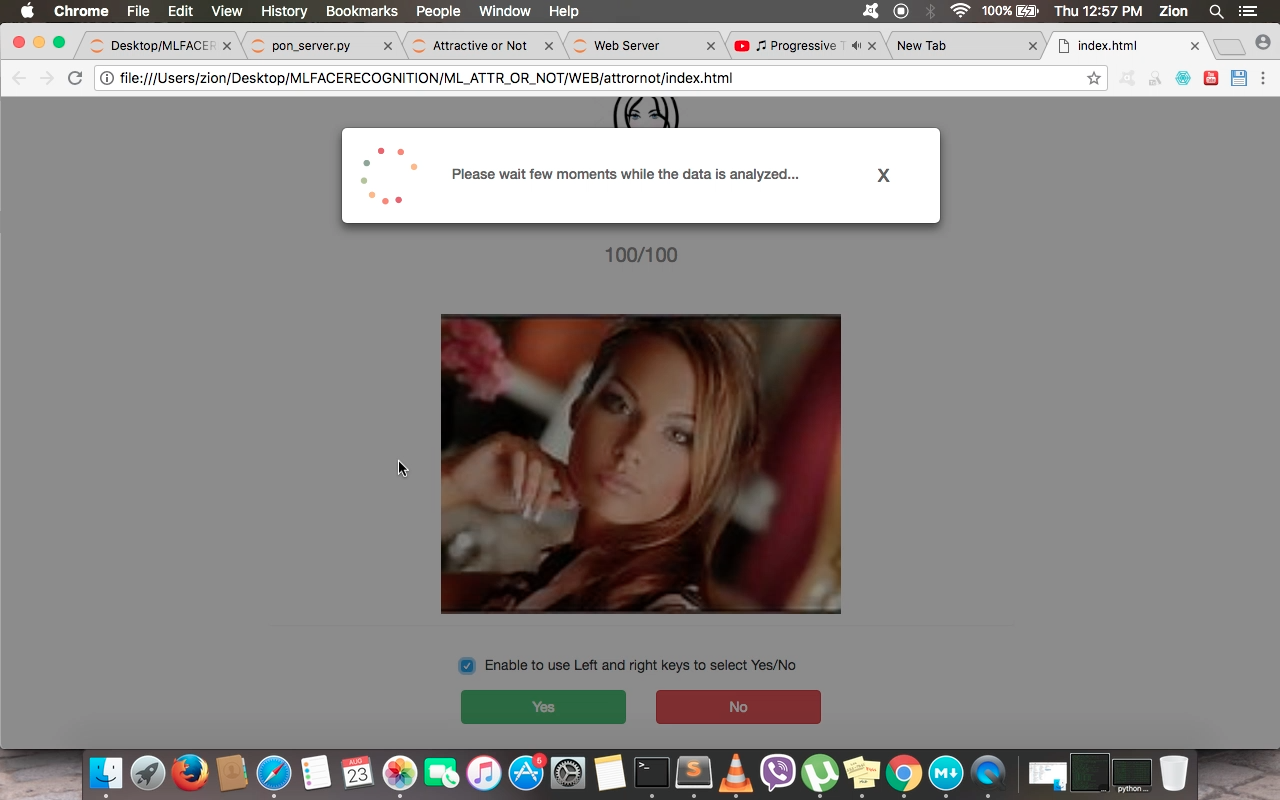
After the user rates all 100 pictures, the data is sent to the server to be trained.
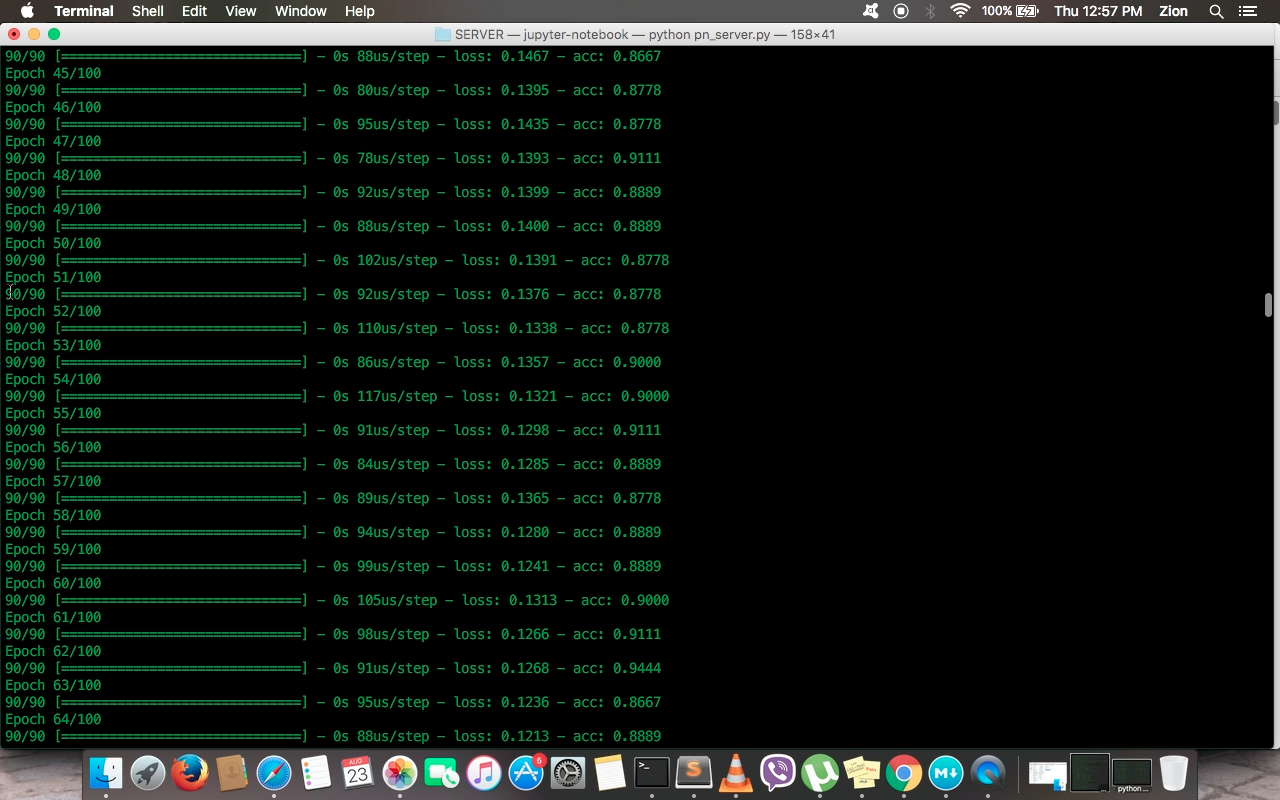
On the above image we can see the data being trainined in the server side. After the model is trained, it will start to predict on the test set and send the predictions of the user.
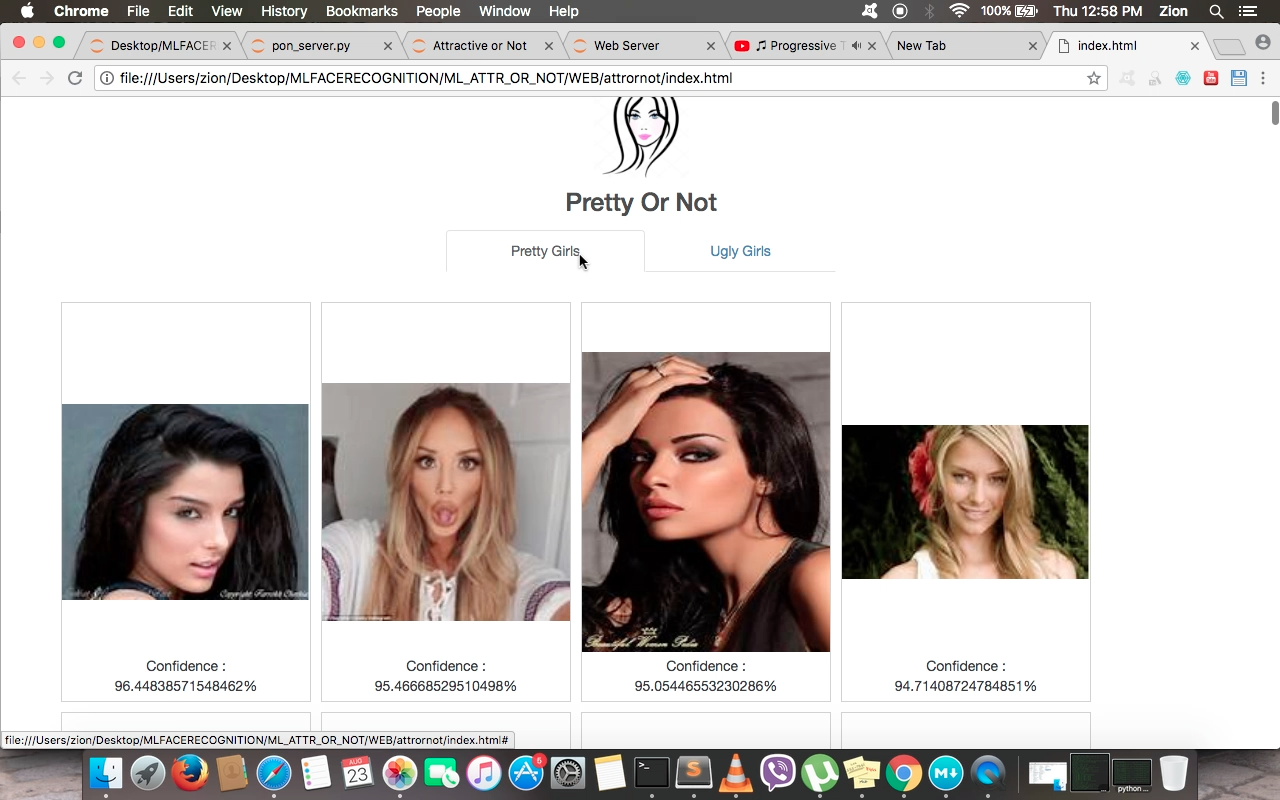
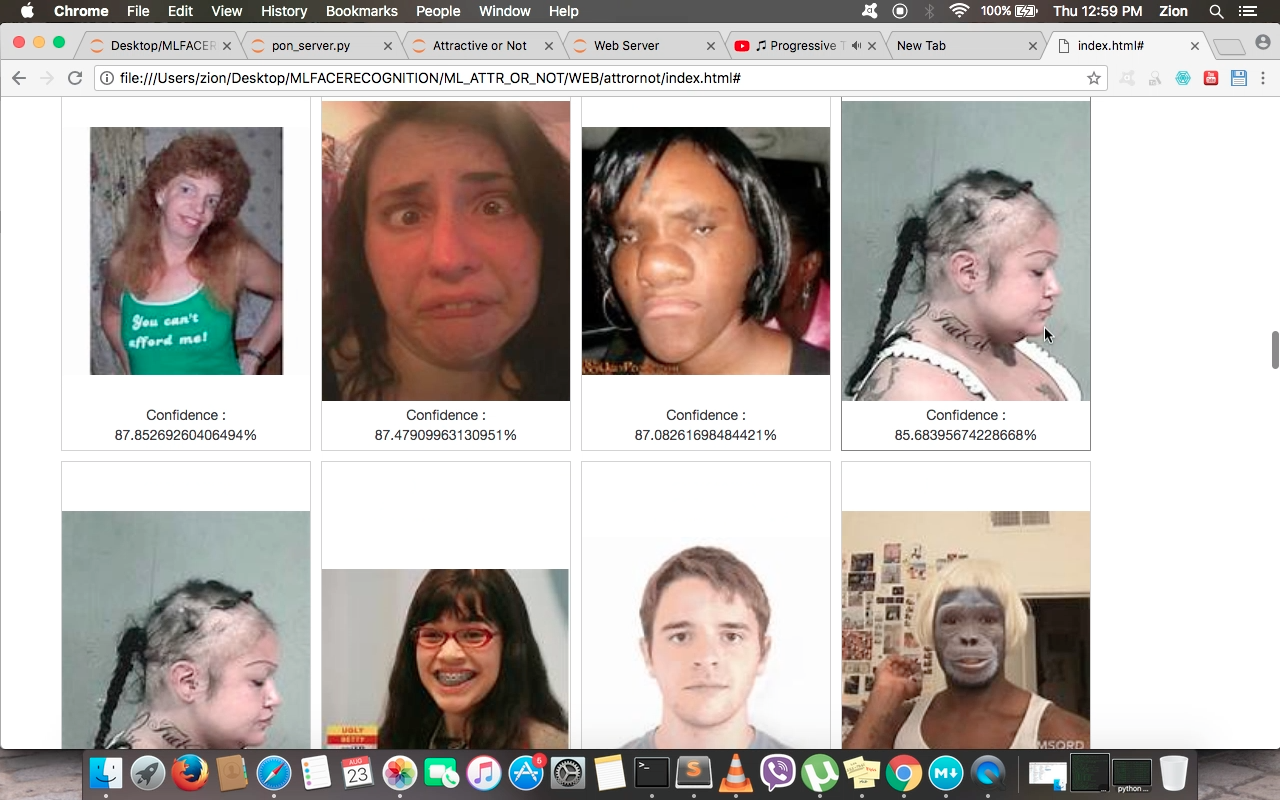
Scrolling down
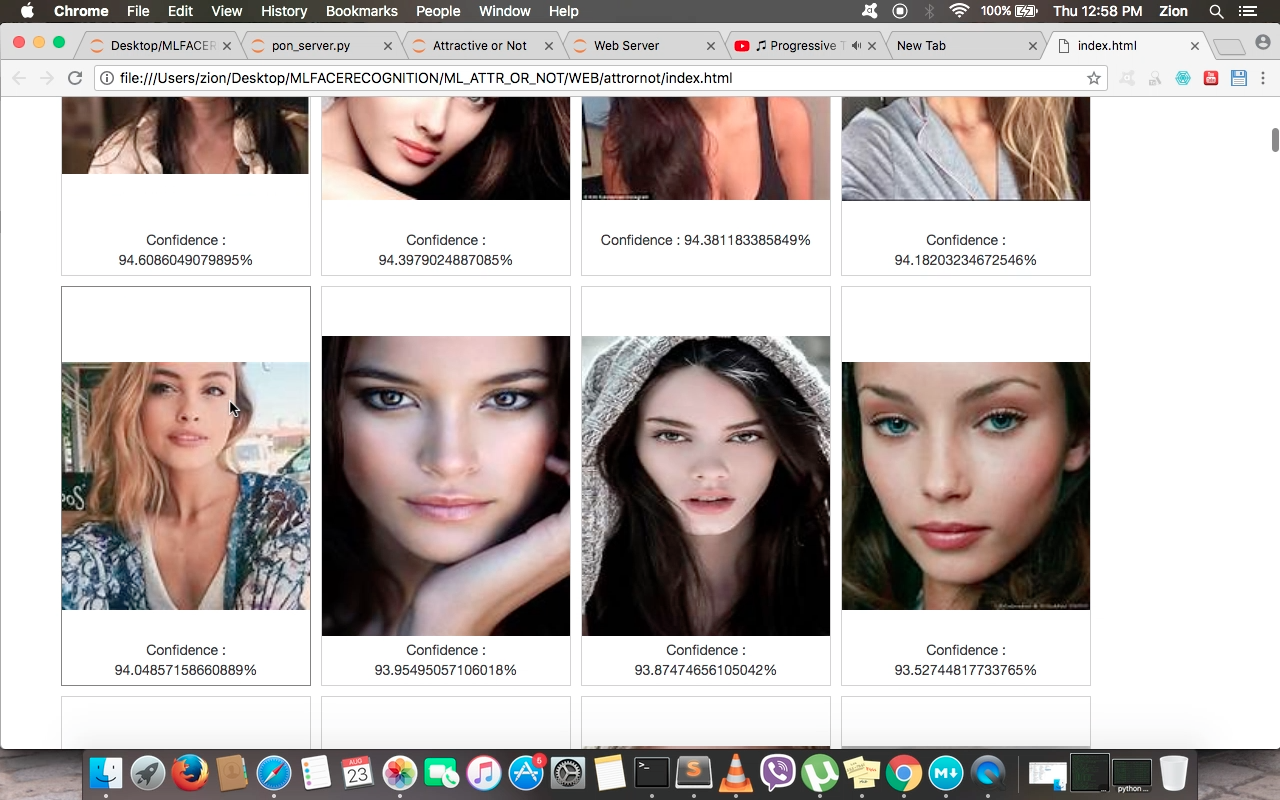
The prediction page is displayed after the model sends its predictions to the user. As shown in the above image we have a new page with two tabs. the first tab shows pretty girls as predicted by the model. The second tab shows predicted plain girls based on the users preference.
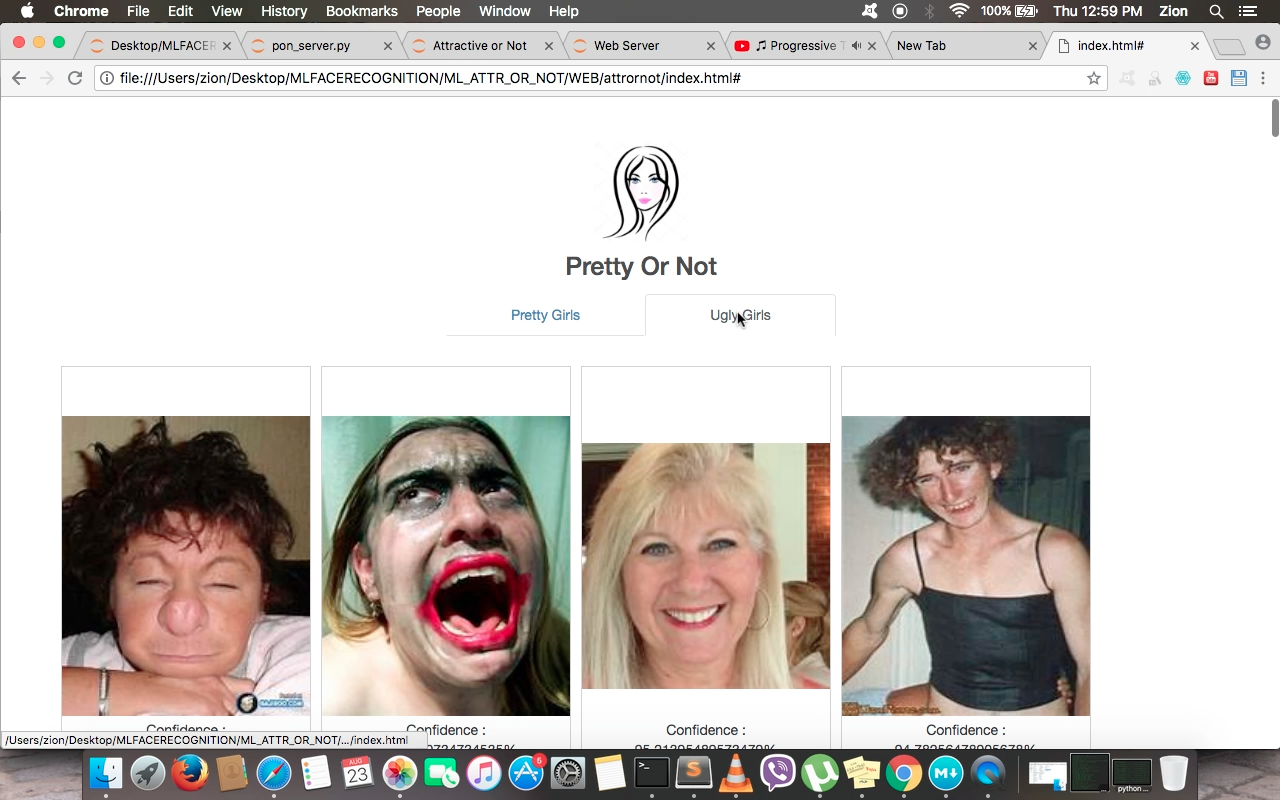
Scrolling Down
How to Launch The Application
- Go to the directory where the source code is kept.
- Activate anaconda environment
source activate <ENV NAME>. - To launch the server, run
pn_server.pyfile. - To launch the client, run
index.htmlWEB Folder.
Demo
You can find the source code of this project here.